August 11, 2025
.jpg)
Adding video to your WordPress site is one of the fastest ways to boost engagement, keep visitors on your pages longer, and communicate your message more effectively. But how you host and display those videos matters—a lot.
Most site owners default to YouTube embeds because they’re free and easy. But there’s a hidden cost:
If your goal is to keep people on your website, grow your email list, and build your brand—not YouTube’s—then you need a video hosting solution built for your own website.
That’s where VideoNest comes in: giving you full control over the look, feel, and behavior of your video embeds, without the high costs of Jetpack VideoPress, Vimeo, or complex setups like Bunny.net.
VideoNest is a video hosting, streaming, and monetization platform that works seamlessly with WordPress—without the high monthly costs.
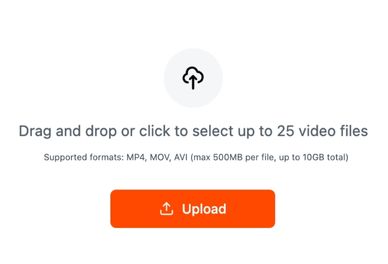
WordPress makes it easy to embed videos, and with VideoNest, you can do it without touching heavy hosting costs. To get started, sign up for a free VideoNest account, upload your videos or sync with a social media account.
According to WordPress’s Embed Block guide, you can paste any supported URL directly into the block, and WordPress will automatically convert it into a playable embed.
Steps:
If you want more control over sizing or attributes, you can paste the HTML embed code from VideoNest directly.
Steps:
Hosting videos directly on WordPress can slow down your site and eat up storage quickly. Services like Jetpack VideoPress or Vimeo can solve that—but at a cost.
With VideoNest’s free plan, you can:
You don’t have to spend hundreds a year to get reliable video hosting for WordPress. VideoNest makes it easy to upload, embed, and share—whether you’re running a blog, news site, or business page.
Sign up for VideoNest and host your first 25 videos for free.


.png)
.png)
.jpg)