+

Host & Embed Videos on Wordpress with VideoNest

Embed your VideoNest videos on your WordPress site in a few clicks.

Get Started in 3 Easy Steps

Upload Your Content

Upload your videos to the VideoNest platform or using cloud integrations.

Generate Your Feed

Create a compliant MRSS feed using our feed generator.

Submit to

Wordpress

Copy your unique feed URL and provide it to the platform.

Why Use VideoNest With WordPress

VideoNest gives you a professional, stable home for your entire video library and a fast, customizable video player. WordPress gives you the flexibility to publish on your own domain. Together, they let you:

  • Host and organize your videos in one place
  • Embed videos or full channels on any WordPress page or post
  • Unlock monetization and distribution options as you grow

Good news: Video embeds work on any VideoNest plan that includes the video player (from entry plans up to Enterprise). Higher tiers add extras like websites, advanced feeds, and monetization, but the basic embed workflow stays the same.

What You Can Do With the WordPress Integration

With WordPress + VideoNest, you can:

  • Embed a single video into any page or blog post
  • Embed a channel carousel (rotating playlist of videos) to showcase your latest content
  • Control playback options from the VideoNest admin (autoplay, captions, etc.
  • Keep your content centralized in VideoNest, while your site just renders the player

Everything is powered by the VideoNest Embed Code or Channel Embed, pasted into a Custom HTML block inside WordPress.

Requirements

Before starting, ensure you have:

  • An active VideoNest account (any plan with player access)
  • At least one uploaded or synced video in your VideoNest library
  • A WordPress site where you can edit pages/posts
  • Access to the WordPress block editor (Gutenberg)

Option 1: Embed a Single Video in WordPress

Use this when you want a specific video in a post, landing page, or article.

Step 1 – Get the Video Embed Code from VideoNest

  1. Log in to VideoNest.
  2. Go to your Library and click on the video you want to embed.
  3. On the video detail page, look below the video player for the “Embed Code” section.
  4. Click Copy to copy the full embed code to your clipboard.

This embed code contains everything WordPress needs to render the VideoNest player correctly.

Step 2 – Add the Custom HTML Block in WordPress

  1. Log in to your WordPress admin.
  2. Edit the page or post where you want the video to appear.
  3. In the block editor, click the “+” button to add a new block.
  4. Search for “Custom HTML” and select the Custom HTML block.
  5. In the Custom HTML block, paste the VideoNest Embed Code you copied earlier.

It will look something like this (your actual code will be generated by VideoNest):

<!-- VideoNest Single Video Embed -->

<div class="videonest-embed">

  <!-- Paste the full embed code from VideoNest here -->

</div>

Step 3 – Preview and Publish

  1. Click Preview in WordPress to make sure the video loads and plays correctly.
  2. If everything looks good, click Update or Publish to make the embed live.

Your VideoNest player is now rendering directly on your WordPress page, pulling the video from your VideoNest library.

Option 2: Embed a Channel Carousel (Rotating Playlist)

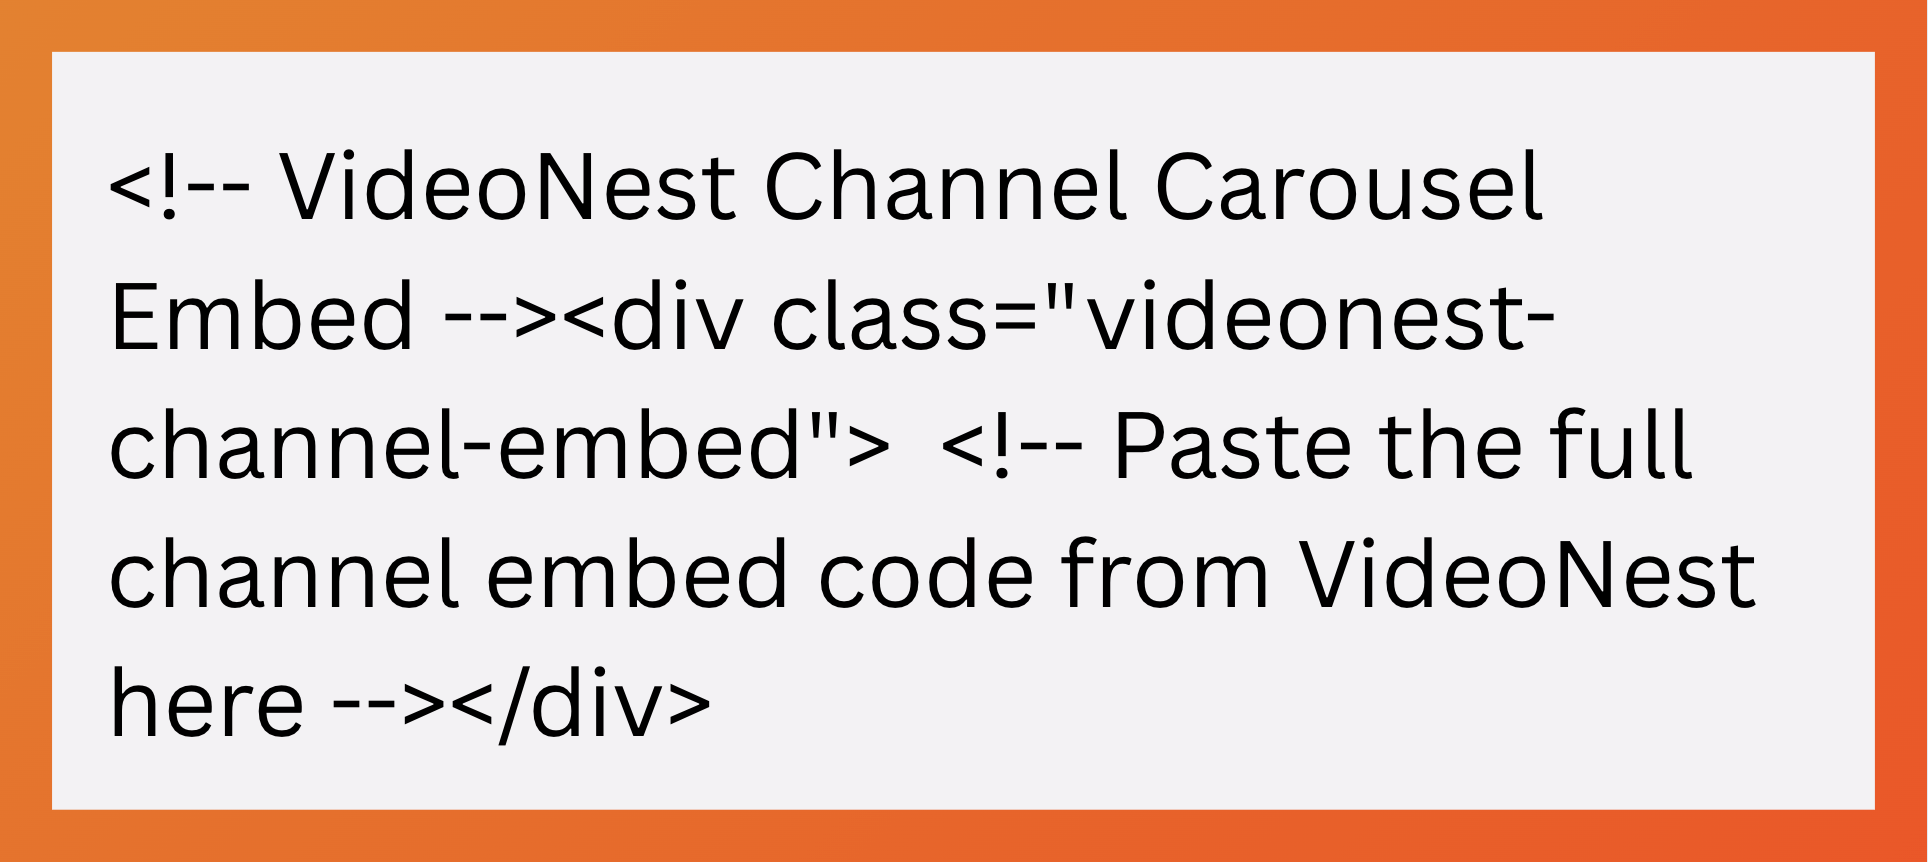
Use this when you want a rotating carousel or playlist that automatically updates with videos from a specific channel or collection.

Step 1 – Get the Channel Embed from VideoNest

  1. In VideoNest, navigate to your Channel or playlist that you want to feature.
  2. Open the channel settings or embed section (e.g., “Channel Embed” or “Channel Player”).
  3. Configure any basics:
    • Default sort (newest first, most popular, etc.)
    • Layout (carousel / playlist-style player, if offered)
  4. Copy the Channel Embed Code.

This is similar to a single-video embed, but it pulls a rotating set of videos from that channel.

Step 2 – Add the Custom HTML Block in WordPress

  1. In WordPress, edit the page where you want the carousel.
  2. Click the “+” button and add a Custom HTML block.
  3. Paste the Channel Embed Code into the Custom HTML block:
<!-- VideoNest Channel Carousel Embed -->
<div class="videonest-channel-embed">
  <!-- Paste the full channel embed code from VideoNest here -->
</div>
  1. Preview the page to confirm the carousel loads and rotates through your channel content.
  2. Publish or update the page.

Whenever you add new videos to that channel in VideoNest, the carousel can automatically refresh (depending on your channel configuration), so you don’t need to touch WordPress again.

Best Practices

  • Keep the HTML block clean. Don’t mix other content inside the same Custom HTML block. Put text/heading blocks above or below it.
  • Use headings and context around the player. Add a short intro above the video so users know what they’re watching. This also helps SEO.
  • Let VideoNest handle the tech. Player settings (autoplay, captions, thumbnails, monetization where enabled) will be controlled from the VideoNest admin, not from WordPress.


New to VideoNest? Create an account, upload or sync a video, and grab your first embed code.

Already a customer? Pick your most important video or channel, embed it on a key WordPress page with the Custom HTML block, and start turning your site traffic into engaged video viewers.

For more information, please see the

Wordpress

Try VideoNest Today

Upload 25 videos for free, then starts at $29/month.
Upload Videos